dotCMS provides a graphical Template Designer to create dotCMS templates without the need to write HTML. Templates rely on themes installed in your dotCMS instance.
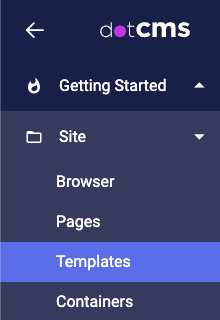
The Templates Tool can be found under the Site tool group — near the Site Browser and the Pages Tool. Browse to Site → Templates.
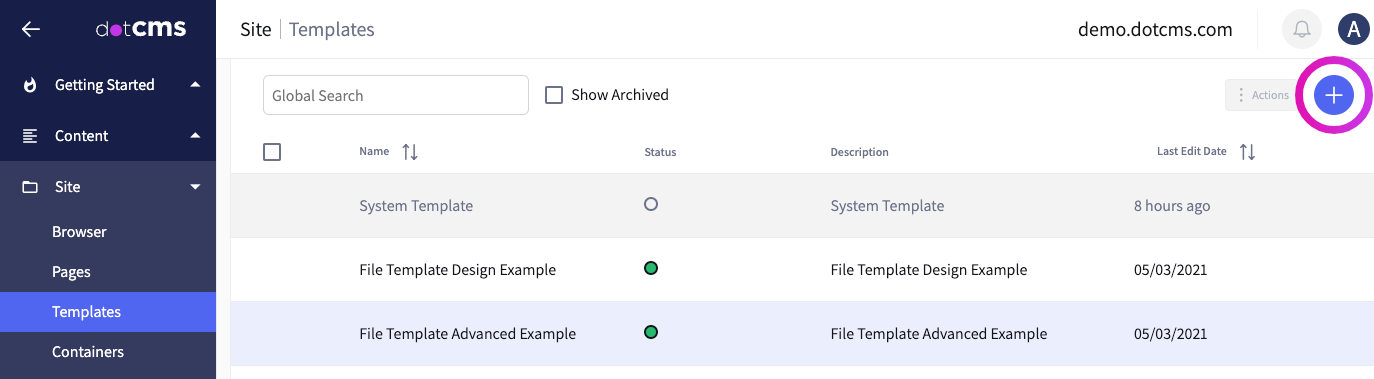
Creating a New Template
To create a new Template, click the 
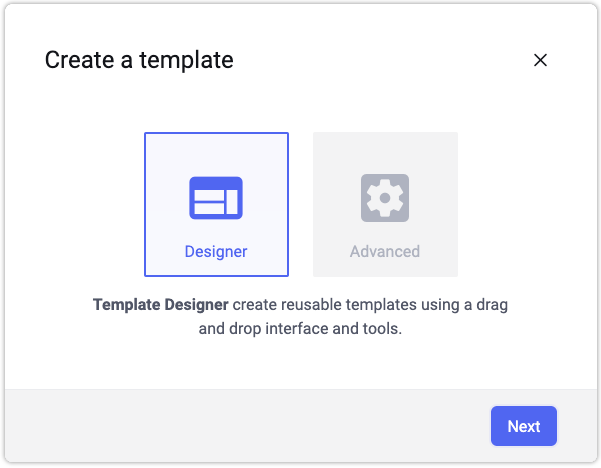
This will open a window prompting the choice between the Template Designer and Advanced templating, which requires the use of HTML or VTL. Select the Template Designer.
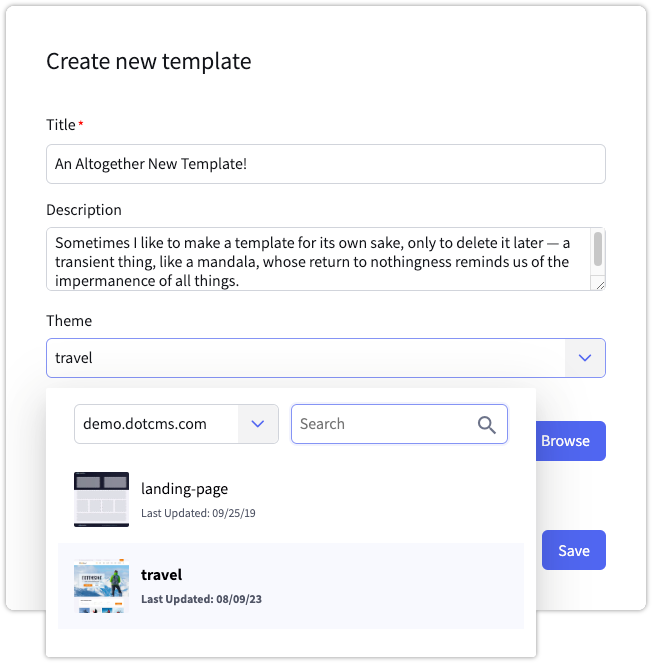
You'll be prompted to name your new Template, to select a theme and to pick a thumbnail representing your Template.
Designing a Template
Template Designer Overview
The Template Designer allows you to edit every aspect of a Template, from metadata to layout and design, to permissioning.
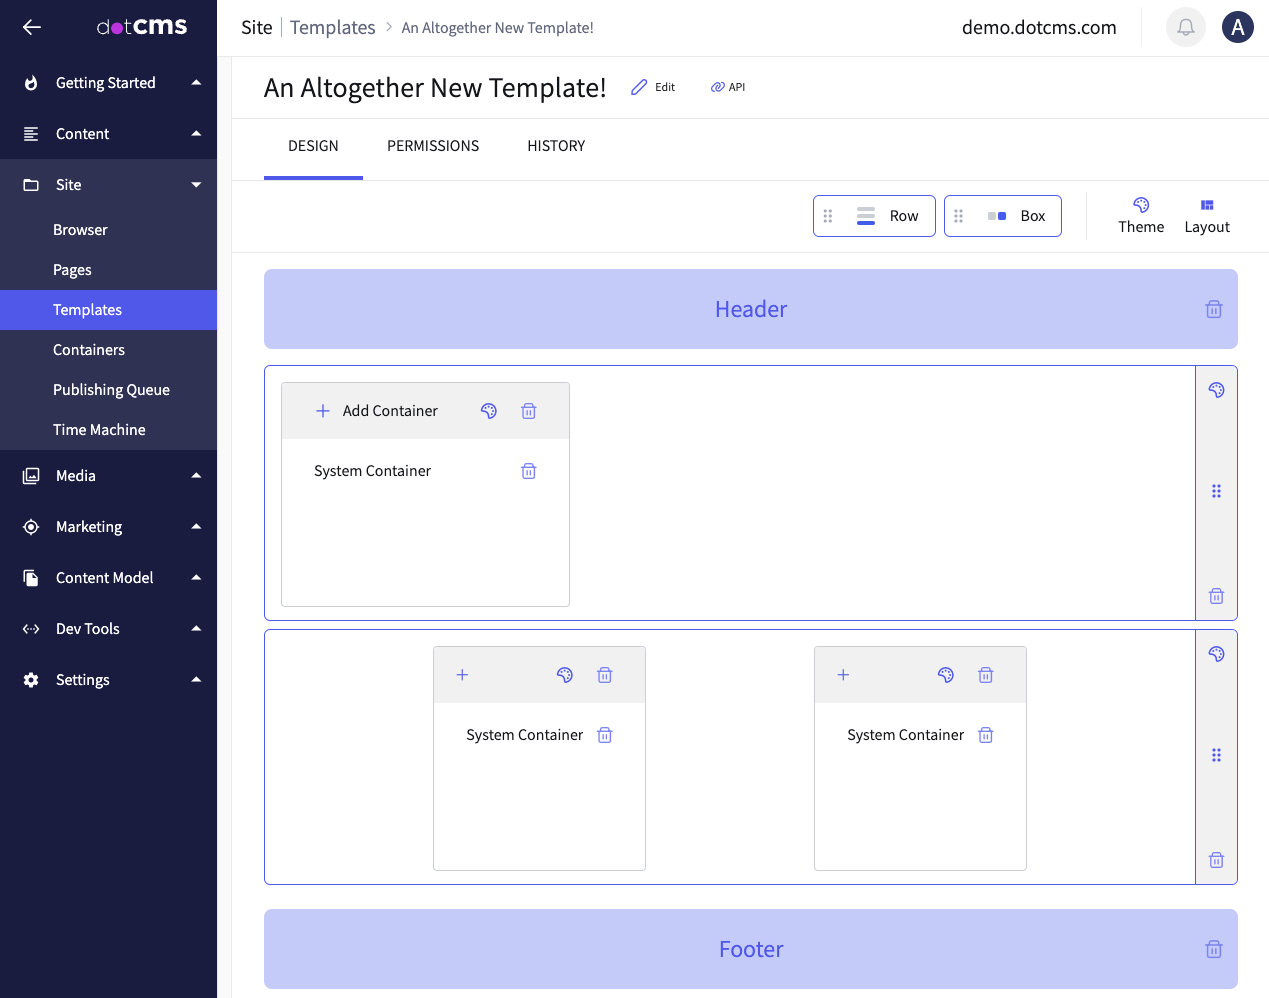
Clicking Edit (
Clicking API (
Below that, the Permissions tab allows modification of the Template's permissions, similar to setting the permissions of content or a Content Type. Similarly, the History tab allows traversal of previous versions of the Template in a manner analogous to content versions.
We Design tab exposes the Row and Box resources, the Theme and Layout selectors, and the main design grid. It is to these we now turn our attention.

Theme and Layout Selectors
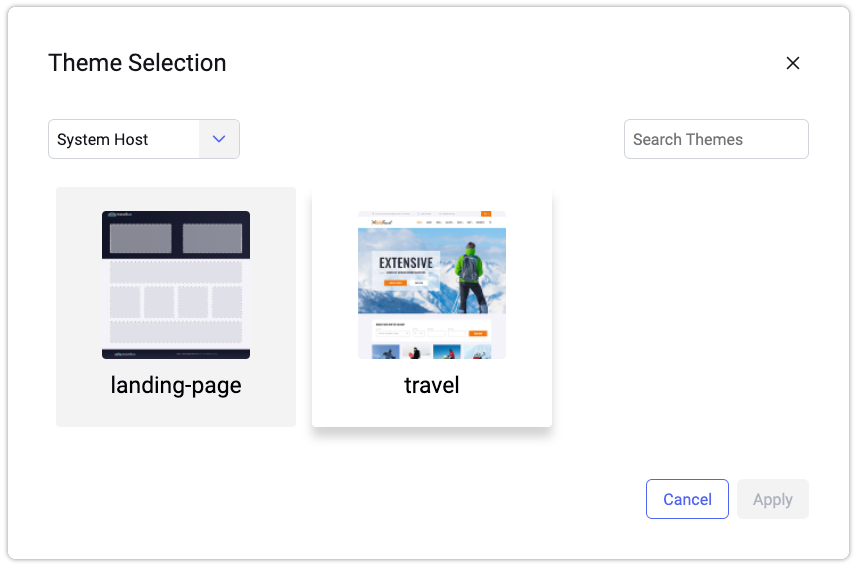
The Theme selector (
The Layout selector (
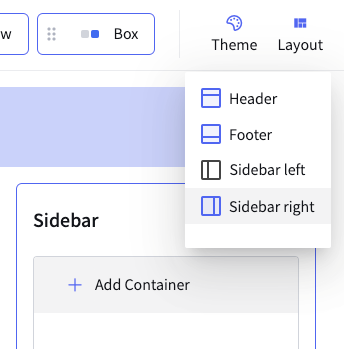
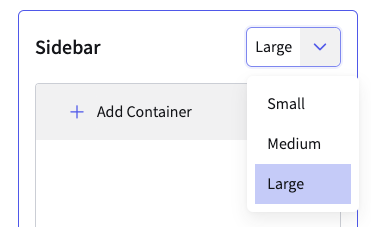
A sidebar is automatically filled by a single box that cannot be resized, as a sidebar does not have an internal column-grid in the same fashion as a row. The sidebar can be defined as small, medium, or large — corresponding to 20%, 30%, or 40% of Page width, respectively.
Rows and Columns
Nestled within the optional elements toggled by the Layout selector lies the main section of the Template, which consists of a set of rows. Rows contain boxes spanning one or more columns; boxes hold Containers that control the display behavior of content held therein.
Rows can be added by dragging a Row resource token into the grid; rows can also be freely repositioned by dragging from the “drag” symbol (
Each row consists of 12 column divisions capable of holding Boxes, likewise dragged into position via token.
Boxes can be resized horizontally, to a minimum of 1 and a maximum of 12 column divisions. A box can also be repositioned within a row, or even moved to a different row entirely; just click on any empty space within a box and drag to its intended destination.
For a Template to display content, a box must hold at least one Container. By default, a newly created box holds a system container. Clicking the Add Container (+) button at the upper left corner of a box will reveal a dropdown containing a list of Containers, sorted by host, with a search input for easy filtering.
Note: The Add Container button will not display text in boxes with a width of three or fewer columns, instead appearing only as a
+symbol.

To remove a Container, a box, a row, or a layout element, click the Delete button, which resembles a trash can (
Class Assignment
Resembling a palette, the Class icon (Return to add a class in the style of a discrete tag.
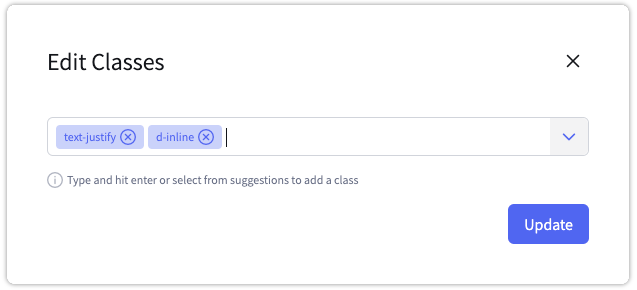
You can also select a pre-defined class from the dropdown selector:
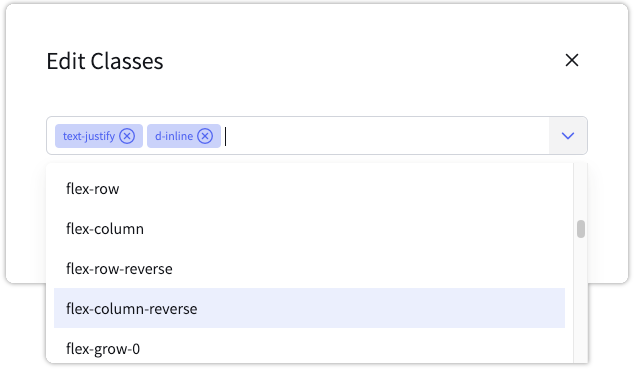
To define the classes that the dropdown will display, you must add a classes.json file to the /applications/templates/ folder. This file consists of a simple JSON object containing a single property named classes; its value is an array of strings representing class names. For example, the file's contents could be as simple as the object below:
{
  "classes": [
    "big-obj",
    "little-obj",
    "item1",
    "test-class-2",
    "etc"
  ]
}
Saving
When working with the Template Designer, all changes are automatically saved.
Beginning with dotCMS 23.09.7, several versions of dotCMS also included an auto-publishing behavior in the Template Designer. This behavior has since been removed. For those using a version with auto-publishing, it is still possible to unpublish the Template from the menu of the Templates Tool, though note that subsequent edits to the Template will place it back into a published state.